Stress-induced products in a Ti-14.8 V alloy deformed in tension
- PDF / 1,623,941 Bytes
- 3 Pages / 612 x 792 pts (letter) Page_size
- 101 Downloads / 267 Views
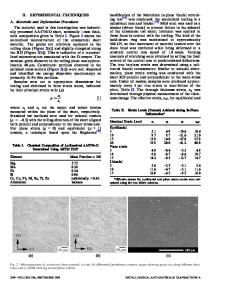
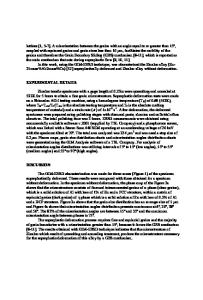
(2) Hcp martensite: Results from deformation of Ti-Mo and Ti-V alloys with molybdenum contents ranging from 8 to 20 wt pct and vanadium contents ranging from 20 to 40 wt pct indicate formation of hcp martensite.[10,12–15] Hida et al.[10] reported formation of {332}^113& twinning along with stress-induced v phase formation after deformation of a Ti-14 wt pct Mo alloy, but hcp martensite on deformation of a Ti-20 wt pct Mo alloy. (3) Variant of the omega phase: Kuan et al.[2] reported the formation of stress-induced plates in the deformation of Ti-15 at. pct V and Ti-19 at. pct V alloys. These were found to be composed entirely of the omega phase. The orientation relationships were found to be (0001)v // (001)b and (1120)v //(110)b. It was suggested that the stress-induced omega phase is an intermediate phase, which occurs during the stress-induced transformation of the b phase into the a8 phase. (4) Bcc/bct/orthorhombic martensite: The bcc/bct martensite was reported after deformation on a Ti-11.6 wt pct Mo alloy and a Ti-20 wt pct V alloy.[16] The transformed region was found to be comprised of a complex assemblage of {112}^111& twins. Orthorhombic martensite plates were reported after deformation of a Ti-10V-2Fe3Al alloy.[17] A number of {112}^111& type twins were also reported along with the martensite plates. Morphologically, they were found to be indistinguishable from the martensite plates. For this study, samples of beta titanium alloy Ti-14.8 wt pct were obtained from RMI Company (Niles, OH). The composition of the material is given in Table I. The molybdenum equivalency of the alloy was found to be 9.9 pct.[18] Samples were heated to a temperature of 1173 K, held for 2 hours, furnace cooled to 963 K, held for 200 hours, and finally water quenched to room temperature to yield an average grain size of 350 mm. Samples were vacuum encapsulated in quartz tubes throughout the entire heat-treatment procedure. They were then machined to yield tensile testing samples of gage length ,1.125 in. and threaded ends ,0.485 in. in diameter. The samples were finish machined by electrodischarge machining to minimize surface stresses. They were then electropolished, followed by attachment of a fiducial grid, as described elsewhere[19,20] on one of the flats to monitor deformation modes by optical and scanning electron microscopy. The samples were then subjected to tensile testing at a strain rate of 3.128 3 1025 per second. Samples for transmission electron microscopy were prepared as outlined by Spurling[21] from a specimen strained in tension to ,2 pct plastic strain. They were then examined in a Hitachi 600A microscope operated at 100 kV. Figure 1 shows optical micrographs before and after tensile deformation. Stress-induced plate (SIP) formation and slip are clearly visible. Figure 2 shows a bright-field image of a SIP. Diffraction patterns were taken at regions indicated in the figure, i.e., of the matrix and the interfacial region. Figure 3 is a diffraction pattern of the matrix region. The beam direction is parallel to (
Data Loading...


